Basically, a well-designed website is able to overcome any challenge your business might face. However, a mobile application is more advantageous in a few aspects.
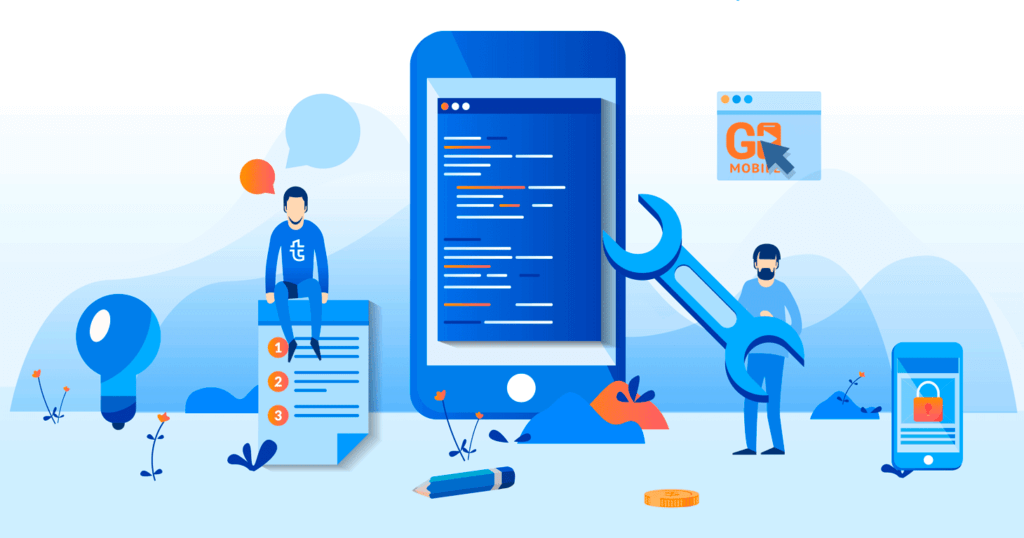
What Are Mobile Applications For?
Frequency. If a client uses your product frequently, it will be easier for him to do it via a mobile app.
Personal account. In contrast to cookies in a web browser, mobile applications are more reliable in saving data, passwords and purchase histories.
Discounts and promotions. Users often receive a welcome discount for downloading an app. In the long term, an application is good because it displays all the discounts and promotions.
Offline. For several platforms, it is crucial to give users access to an app in the offline mode. For example, a user might need to check the transaction history of a bank card or find the address of a hotel while roaming.
Additional options. Your app might require such features as AR, VR or NFC which are not integrated into the desktop version.
Why Does a Brand Need a Mobile Application?
Data. An application collects additional data on its users, which might help you to find new clients, improve the customer-service level and optimize a product.
A higher average check. According to statistics, clients make bigger purchases using an app rather than a website.
Notifications. It is an easy and free way to communicate with clients and notify them of upcoming discounts and promotions.
Loyalty. It is highly likely that if a customer has downloaded your app, they will use it every now and then.
How to Develop Your Own Mobile Application
You haven’t changed your mind yet? All you need is to watch our webinar and find the right developers:
1. Agency
The most efficient and simple option is to contact an agency where professional webmasters and designers will implement your idea in a high-quality and timely manner.
Step-By-Step Instructions
Look for an agency. You can benefit from one of the top app developers list, like this one. Or, just google it. Remember to ask applicants for a portfolio of their projects and clients review.
Choose an agency. Once you’ve chosen a few agencies, tell them more about your ideas and requirements. Once an agency has been chosen, ask the team to sign a confidentiality agreement to protect your business idea.
Draw up technical requirements. You can start by making a detailed technical requirement for a Minimum Valuable Product (MVP). The rest can be done after running the first tests.
Test your target market. After you’ve received feedback on your app from its first users, it’s time to make adjustments and upgrade your app.
Progress report. This is when the agency needs to report on progress.
Make a release. Think about how to present your app in stores. Make it publicly available when ready. Introduce a new product.
Usage. The hard part is over, your app has been created! Now it’s time to make consecutive upgrades and keep working closely with the agency.
Advantages:
Legal agreement. All the parties and obligations have been set, so any cooperation shall be regulated by law.
The application is your own property. Developers transfer the right of ownership of the new application to you.
Guarantee. All the requirements from the specifications will be met.
Support. Upgrading and supporting the functionality of your app remains the duty of the agency.
Full transparency and task-tracking. You will be able to check the progress of application development and test prototypes at any time.
Dedicated team. Once you have contacted an agency, they will present you with a project team and your personal account manager. Even if someone on the team gets sick, the development process will not stop.
Disadvantages:
Irreversibility. If you find yourself unsatisfied with the agency at some point, you will have a hard time parting ways without any payoff.
Bureaucracy. A lot of time will be spent on paperwork, payment process and aligning changes if they arise.
Price. An average price for building an application through an agency is about 400,000 rubs ($6,000), which might be expensive for a startup.
Price Formation
Do you want to reduce the cost? Then you’ll have to give up something.
Application potential and functionality. The more complex your app is, the more time will be spent on its development.
Design. You’ll need a bunch of developers with different expertise to give your app a unique design, which eventually increases the development cost.
Platforms. The simplest way is to create an application for a particular operating system. Even though an app like that is quite cheap to code, you will have a hard time expanding its functionality. Alternatively, you can develop separate apps for different operating systems, which is more expensive, but it will allow you to take advantage of each system and facilitate the app’s upgrades in future.
Back-End
Additional expenditure is related to connecting your application to external databases (CRM, payments, bookings, a list of products, etc.).
You’ll need a web-analytics system. AppMetrica is free, but commercial options are more efficient. One example is AppsFlyer.
An administration panel is crucial for managing the content inside the app. This costs money as well.
For Who
This is a perfect option for companies with sustainable growth, able to allocate funds to the app development. However, if a mobile application is supposed to be the key asset of your business, it is better to not save on its development.
Freelancer
Delegating this task to a freelancer will cost you less. Have a look at one of freelance platforms, such as freelance.ru, freelansim.ru, fl.ru and many more.
Step-By-Step Instruction
Find and select a freelancer. Describe the task and communicate with applicants. It is not recommended to explain your idea in detail at this stage to protect it from being stolen. How to choose a freelancer:
Pay attention to what applicants write in response to your job offer. They should give an estimated cost and the duration of work. Otherwise, it is highly likely that a freelancer hasn’t even read your offer until the end.
Take a look at portfolios and search for similar projects. Find out what tools a freelancer is comfortable with.
Check the reviews and ratings in each portfolio.
Because you’ll have to work closely with your contractor for a while, choose a person that understands you and is able to explain the development process in detail.
If you have a limited budget, price is a key factor when choosing a contractor.
Normally, a big project engages more than one developer. Find out what your contractor is going to implement themselves, and what will be done by other people.
Discuss the technical requirement. Draw up a technical requirement together with your contractor (here is an example) and agree on the cost and the duration of work. It is likely that the project might take longer than estimated, so try to avoid tight deadlines.
Formalize the arrangements. Sign a contract or put everything you agreed upon in writing, at least for the duration of work and the cost of every stage of development.
Build an app. Developers often combine a regular job and freelance, so you should be ready that the project might take longer than expected. It’s a good idea to stay in touch and respond rapidly to any questions your contractor asks, thus giving an impression of your permanent presence.
Test, submit corrections and provide further development. Once your first MVP is ready, run in-between testing yourself and ask your friends and colleagues to give it a try. The more people that try the app out, the more chances you have to find all the bugs.
Release. The app will be uploaded by the developer, but as for presenting your app in stores, you’ll most likely have to do it yourself.
Use of the app. Try not to fight with your contractor and fulfill your obligations. You might need the contractor’s help again.
Attention! Engage freelancers only for developing a simple application.
In order to build a more complex app, you’ll need a bunch of analytics, managers, testers and designers. It is unlikely that one person will be able to do everything alone.
Advantages:
Multiple payment options. Normally, you can choose whether you want to pay separately for each stage of work, for the whole project at once or for the time spent on work (person/hour). If you need a simple app, it will be better to pay for the time spent on the development of your app. The average cost of work per hour is about 1,000 rub (approximately $15).
Remote work. You don’t have to bring a person onboard, buy them a desk and a chair or provide them with paid leave.
You have the same contact person for all kinds of questions. One person is responsible for all the tasks within the same project. It is possible to make changes without convening a meeting with a bunch of people.
Fast payment and legal force. You will avoid spending money on lawyers and accountants and wasting your time on bank transfers.
Disadvantages:
Hourly wage. On the flipside, it is hard to control the time spent on the development, and the number of hours depends on the integrity of your contractor.
Further development issues. It is unlikely that a freelancer will react instantly to your demand to upgrade the application.
No legal agreement. In most cases, freelancers don’t sign any contracts, so no guarantee is made as to the completion of the project.
Building an App on Your Own
Learning programming to develop one single application is not efficient because it will take a lot of time and in the end it will cost you more than simply hiring one developer.
However, it is possible to use cheat codes and build an app without wasting your time on learning. There are three options:
WebView;
White Label;
SDK.
All these options are much simpler than learning how to develop an app from scratch.
Webview
WebView is available with Android, and it is aimed at turning your website into an application.
You’ll have to learn about HTML, CSS3 and JavaScript in order to make an application with the help of the WebView technology.
WebView has one big disadvantage, it is available only with Android.
The process is that once a website has been created, it can be transformed into an application with the use of WebView technology. It is a good alternative if you know how to make a website, but haven’t learned how to build applications yet.
You can read more on the technology and examples of its implementation here. Google Play is still wary of such applications, so you may have difficulties with moderation.
White Label
White Label is a technology solution to build an app on an existing mobile application.
Specialized White Label solutions are applicable in different niches. For instance, in the travel business they are used by Amadeus (an application for booking plane tickets) and Travelpayouts. In the field of e-commerce, you can resort to Shopify and Yclients (a platform for business management in the service industry). If desired, you can easily find their analogues for any business segment.
Travelpayouts Mobile White Label is a perfect solution for the travel niche. With this tool, you can build your own iOS app for booking flights and/or hotels worldwide and get rewarded for each booking made through your application.
Step-By-Step Instructions
Market analysis. Think of the functionality of your application. Check if they are available for every White Label solution.
Search for and choose a company. Pay attention to the cooperation modalities, available technologies, relevant clients and their reviews.
Training and instruction.
Building an app. White Label applications are simple enough to build yourself without resorting to developers. Their interface is simple and understandable.
Settings adjustment. It’s time to test a new app and change its design or functionality, if necessary.
Release. Try to add only unique content to your application and its description in stores. App Store wouldn’t appreciate the “one-size-fits-all” approach.
Use. You can get online support for upgrading your application at any time.
Advantages:
It is cheaper than development from scratch. It is way cheaper. The cost of development depends on the size of your company, your app’s functionality and many other aspects. The price of a basic package on Shopify for one month is $29, while an advanced alternative costs $299. The price for Yclients services starts from 570 rubles per month ($9), and the cost of a package with individual upgrading and personal domain starts from 2,570 rubles ($39.50).
Simplicity. You won’t need any particular knowledge to build an app, because it is easy to create.
Technical support. You have questions anyway? Technical support is always within your reach.
Guarantee. There is a 100% guarantee that your app will be fully functional, because the thing with these tools is that you simply adapt to your needs an off-the-shelf tool that has already proven its effectiveness.
Disadvantages:
Limited functionality. If you want to change or upgrade your product’s functionality, for instance, like adding an innovative feature, you won’t manage to do it on your own.
Additional resources needed for technical support. You’ll need both a workforce and physical assets.
No rights of ownership.You’ll have to monitor payments to the software company.
Limited choice. Not every niche of services has easy-to-use White Label solutions.
Sdk
SDK solutions allow you to smooth out some of the problems related to the use of White Label and still benefit from its advantages.
SDK is a set of tools, a nearly complete product. You receive a convenient tool to build an app without the need of any IT skills, and make your product independent of any external platforms.
With Travelpayouts, you’ll have access to Mobile White Label and SDK, both of them being described in detail in our knowledge base.
This article will provide you with more information about our affiliate Egor Sukharev’s experience with Travelpayouts SDK.
Now, you’re ready to decide based on your budget and appetite for risk.