What Is an Email Workflow
An email marketing workflow is a sequence of automated emails sent to subscribers based on their behavior or status. A workflow usually serves a specific purpose, such as generating sales, educating your audience, onboarding new leads, etc. A workflow is triggered by user actions, such as blog subscriptions, and depends on their further behavior at each step.
Email automation helps organize your campaign so that you don’t have to spend time doing the same things over and over again. Instead of manually responding to every single email, set up a workflow and free up your time for more important and creative matters.
Advantages of Creating an Email Workflow
Email workflows allow you to automate many different tasks. While it takes time to create an email sequence, once set up, the workflow will take over most of your communication with subscribers and help:
- Improve lead nurturing. Email workflows will nurture leads and move them through the funnel. Instead of losing potential clients, you will engage with them!
- Personalize user experience. Your subscribers will only receive relevant content based on their needs and interests, so they’ll have a more pleasant and consistent experience, which, in turn, may decrease your unsubscribe rate.
- Save time. A workflow will save you hours of manually responding to client emails, so you can busy yourself with more creative tasks. You don’t need to be tech-savvy, as these marketing tools will do all the work for you.
- Optimize email marketing. Email workflows ensure a better user experience, improve overall marketing performance, and lead to higher open rates, traffic, etc.
- Boost revenue. Successful email automation may increase sales by 14.5% once you create the right workflow for your audience.
- Understand your audience better. Most automation software comes with reporting functions, which will help you discover what types of content will most interest your subscribers, what links they are likely to click, and more. As a result, you’ll see areas for improvement and achieve better results.
How to Set up an Email Workflow
To create a workflow, you’ll need to go through the following six steps on your marketing automation platform.
1. Decide on Goals
An email workflow may help you achieve various tasks from onboarding new clients to advancing them down the funnel. While increasing conversions and sales is often the ultimate goal, it makes sense to focus on building an individual experience for your users. Depending on where they are in the funnel, you may want to:
- Build trust with your audience
- Establish authority and showcase your expertise
- Welcome blog subscribers
- Announce a product launch
- Onboard new customers
- And more
2. Set Enrollment Triggers
Depending on your goals, enrollment may be triggered by clicking a link, downloading an eBook, making a purchase, signing up on your blog, and so on. The software will then assign a corresponding workflow following a specific user action and walk the user through an individual journey with your brand.
Advanced tools will allow you to set additional triggers and adjust the workflow along the way. For instance, depending on how the user engages with your emails, you may move them down the funnel and send them a sales pitch or keep nurturing them for more time.
3. Create a List
Pull a list of contacts according to your enrollment triggers. This list can be static (you manually create and extend the list) or active (using automatic lead collection). You can start with contacts you already have and configure the marketing platform to add qualifying leads as they come forward.
4. Write Emails
By this point, you should already understand what kind of workflow you need. The next step is to create your emails. Consider how many steps are needed in the workflow to reach your goals. For instance, to welcome blog subscribers, you may want to send one or two emails, while a workflow for potential customers may include three or four emails spread over time.
It’s essential to deliver content in a logical fashion to gradually move leads through the marketing funnel. At first, you’ll send a welcoming email. A few days later, you can share a list of your most popular blog posts. Then, in a subsequent letter, talk about your brand story and mission. Finally, invite users to join your email course or convert them in any other way.
5. Add a Time Delay
Make sure to add time delays in between your emails to give users time to interact with each one. Depending on the purpose of your emails, you should set different delays. For example, a couple of days for lead-nurturing workflows, a week for email courses, and so on. Besides, it’s important to send emails at times when subscribers are most receptive.
6. Test Your Workflow
Before you set up your workflow, be sure to check it for errors and test it by sending emails to your own inbox. For example, double check if emails are in the right order, whether the sender information is correct, if the contact list includes relevant recipients, and so on.
Best Email Workflow Tools
Marketing automation can be much more efficient with the right software. This approach helps you create email workflows and automate your marketing process in many other ways. Here are some of the best tools for webmasters to start with:
- MailChimp helps build different workflows and its free plan allows for one-step automation.
- Sendinblue is a great newsletter tool that allows you to send up to 300 emails daily at no cost and provides automation services with its premium plan.
- Hubspot allows for one free automated email per form and, with a starter pack, you can increase this cap up to three emails and enjoy more automation features.
- Benchmark provides free basic drip campaigns, while its paid plans include behavior-based emails, advanced segmentation, pre-built user journeys, and more.
- With GetResponse’s Basic plan, you can make use of welcome and thank you emails, drip campaigns, as well as click and open follow-ups for just $15 per month. Custom workflows and automation segmentations will cost you $49 per month.
- Omnisend provides automation starting from $16 per month.
5 Effective Email Workflow Examples
Let’s take a look at examples of email workflows that might help you engage and convert subscribers.
Blog Subscription
Give your audience a warm greeting after they sign up on your blog with a welcome email. Since 75% of people expect to receive such a letter after signing up for a platform or service, creating a subscription workflow might be the first item on your email automation task checklist.
This is a great opportunity to start the journey of turning users into customers. Here is an example of such a workflow:
- Send a welcome letter, in which you thank the user for subscribing and introduce your brand.
- After a couple of days, share the most popular posts to help the user navigate your blog.
- A little while later, send a survey asking for preferences so that you can better serve subscribers and personalize your marketing strategy.
- Finally, introduce the offer or product that you’re promoting.
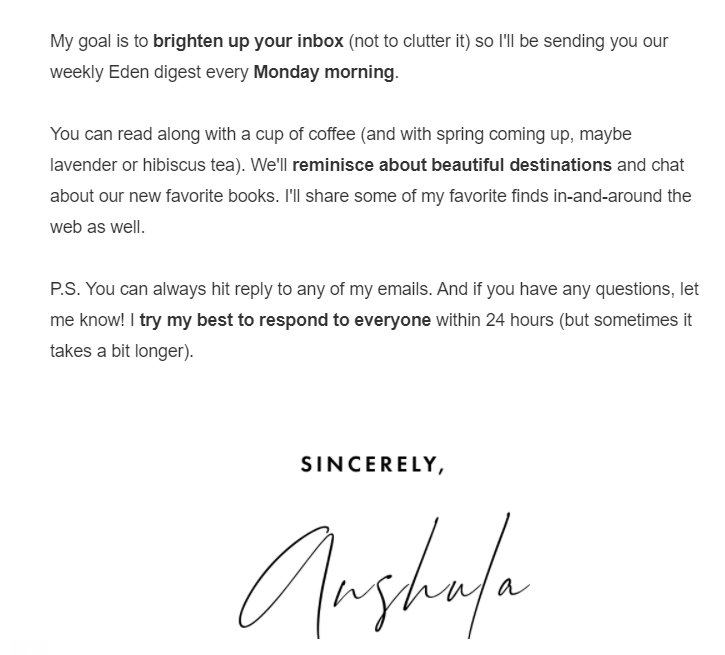
For instance, here is a welcome letter from the Passport to Eden travel blog, in which the author briefly describes the content of the newsletter and leaves a link to the blog.
Onboarding Guide
Such a workflow aims to introduce the product you’re promoting and provide instructions on how to use it most efficiently. You can send onboarding guides to both inspire customers to book and help them make the most of their purchase. It’s also a great way to show your authority and expertise on your topic while building trust and customer loyalty.
Here, the sequence might be triggered when the user downloads a specific guide or shows interest in a particular topic, so you can understand what kind of problem they have and offer a solution. Alternatively, target users who have already converted and ensure they have a positive experience, especially if you know the points at which the customer may get stuck. Here is an example:
- Start by immediately thanking the user for their booking/purchase.
- A couple of days later, share relevant guides, white papers, blog posts, or training videos that will ensure success for your user. You can share all the materials in one letter or send a few emails.
- A little while later, send a letter and ask if the user is satisfied with their purchase or has any questions that you can answer.
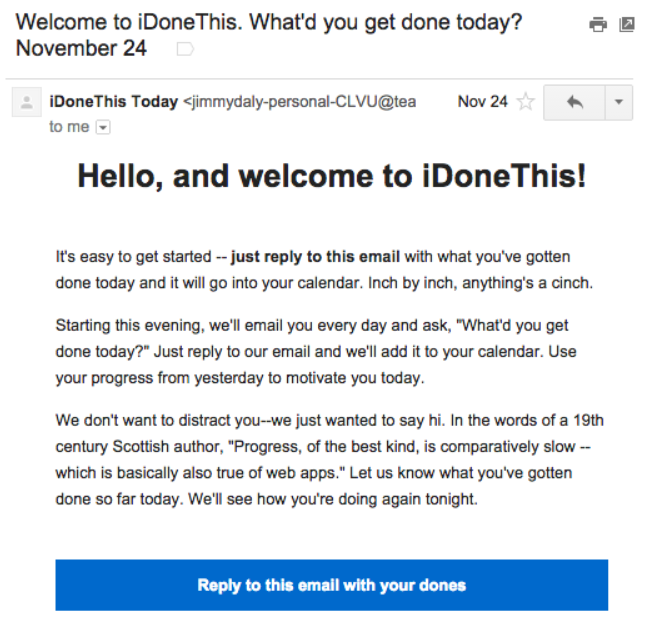
Here is an example of an onboarding guide from iDoneThis, which describes how users can track their progress with the online service.
Lead Nurturing
If you have leads showing interest in some of your materials, use this opportunity to move them down the funnel and convert them into customers. Select contacts who have downloaded your eBooks, subscribed to your blog, signed up for a webinar, etc. and send them educational content that will help them learn more about the topic and unobtrusively show your expertise as well as the benefits of your offer. These can be case studies, customer success stories, guides, free trials, and so on.
Here is an example of a lead-nurturing workflow:
- The first email may elaborate on the topic at hand and show users that they have a problem that needs solving.
- Subsequent emails might address the problem and offer solutions.
- It’s time to demonstrate your authority in the niche and build user confidence in your business.
- Finally, describe the advantages of your offer in detail and try to engage users by inviting them to a webinar, offering a free trial, etc.
For example, in this lead-nurturing email, authors from the Make A Living Writing blog share insights about LinkedIn and how freelance writers can make money with it.

Email Course
Another great way to generate leads is by creating an email course workflow. This is beneficial in many ways: from attracting new subscribers to improving your email marketing performance to establishing authority in your niche.
Most such courses usually contain around five to seven emails, based on the target audience and topic. You may write emails from scratch or compile a sequence based on your existing blog posts. One of the final letters may contain your sales pitch or a link to the advertiser you’re promoting.
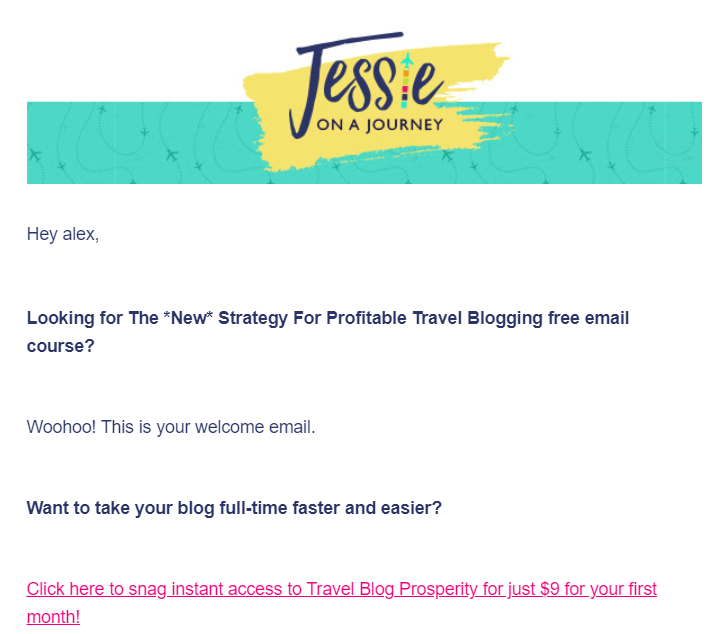
Below, there is an example of a welcome email from the Jessie On A Journey travel blog.
Event Workflow
If you plan to run an event, such as a webinar, make sure to create a dedicated workflow of emails to communicate with users before, during, and after the event. You can make an announcement to your entire mailing list and send the rest of the workflow to those who sign up.
Here is an example of one such sequence:
- Send an announcement about your event and describe it in detail. Offer to register the user for the event.
- For those who sign up, send a confirmation letter.
- Send a few reminder emails so that users don’t forget about the event.
- After the event, share a recording and relevant materials (if you have any). Include contacts who did not attend, as they might still be interested to learn more.
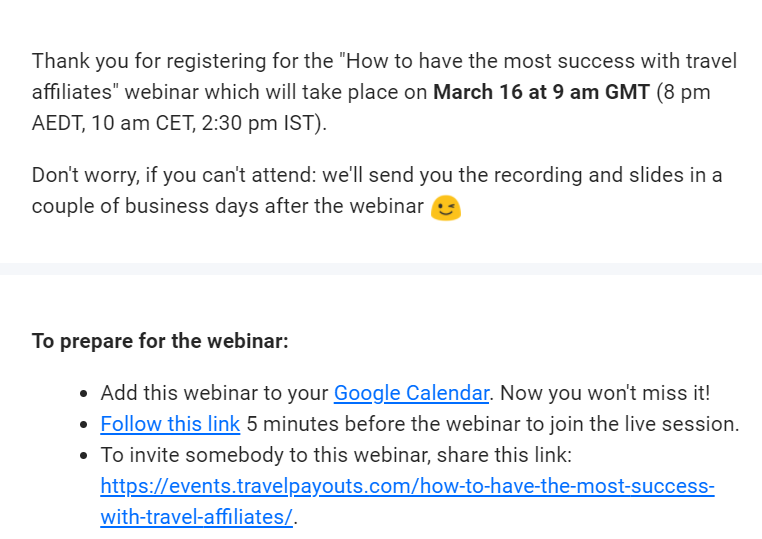
Here is a confirmation email that users receive after signing up for one of the webinars at Travelpayouts.
Once you create such a workflow, you may use its structure for all upcoming events in order to save time. What’s more, you can continue nurturing event attendees with additional content related to the topic and keep them updated about upcoming webinars.
Email Workflow Best Practices
While each workflow depends on your objectives, there are a few rules that’ll make any campaign more efficient.
- Start by creating simple workflows and then move on to launching more complex sequences. Thus, you will gradually master your skills and will not fail on your campaigns, which might repel subscribers. For example, you may start adding triggers throughout the workflow and keep personalizing emails based on user behavior.
- Choose the right mailing frequency. Try not to send emails too often in order to avoid coming off as pushy. Give subscribers the time to interact with each individual message.
- Send the first letter within 24 hours after the user takes their initial action. They’re likely to forget about your brand after a long time, so make sure to remind people about your brand soon enough after getting them to sign up.
- Use email templates to save time. You can easily speed up the process by creating templates for all subsequent email campaigns or using existing templates from the marketing tool.
- Measure your success. To make your marketing more efficient, be sure to track the performance of each campaign and adjust your strategy based on the data.
How to Set up an Email Workflow for Your Blog
Using an email workflow is a great way to automate your marketing process, increase conversions, and improve user experience. A workflow helps build individual journeys for subscribers with your business and gradually turn them into loyal customers by delivering the right content at the right time. You may also automate various processes, such as creating and updating mailing lists, cleaning your subscriber base, and other tasks. This will free up resources allowing you to focus on more important business matters.